
Learning Center
Setting Up Your Institution
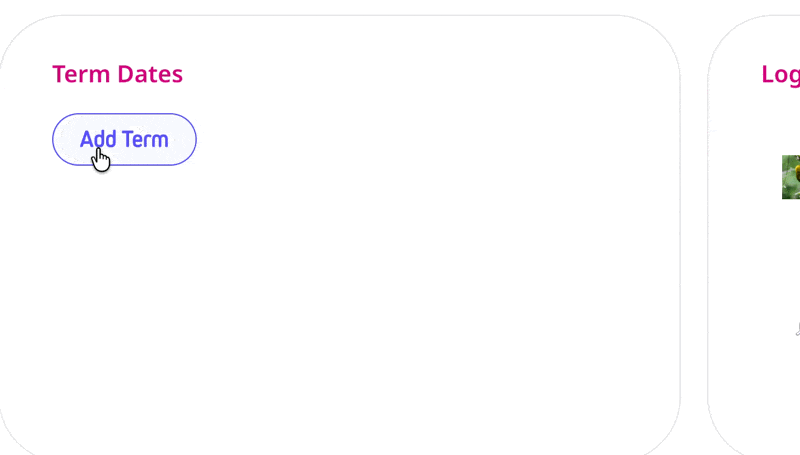
This article is for institutional account administrators. If you’re an individual subscriber, you don’t need any of this — your account is ready to go the moment you sign up. But if your school has upgraded to an institutional plan and you’re the Partner Admin, here’s how to get everything set up for your team. Go to Institution Settings in your admin dashboard. Logos PNG format is recommended for transparency, and your image should be least 600px wide for horizontal and 600×600px for square. Transparent backgrounds works best. Once uploaded, your logos automatically appear on promotional images for classes, registration pages, and participant evaluation pages — so everything your students see is co-branded with your institution. On that same page there is another section called Term Dates where you can set your semester or quarter start and end dates. This is useful for keeping track of participant rosters and filtering classes for specific time periods. Setting up your terms allows you to archive class rosters after the term ends, keep participant records organized by semester, and align evaluation data with your reporting needs. You can add multiple upcoming semesters to stay ahead of scheduling. In the Team Members tab in Institution Settings, click “Add Instructor.” You’ll enter their name, email, and department assignment.Upload your logos
You will be able to set your Institution's name if you would like it to appear differently than how you entered it when you set up your Institution Subscription, as well as a nickname that will show up in the branded marketing materials AOM generates for each of your classes.
You can upload two different versions of your logo to appear in your branded marketing materials:
Enter term information
Add team members
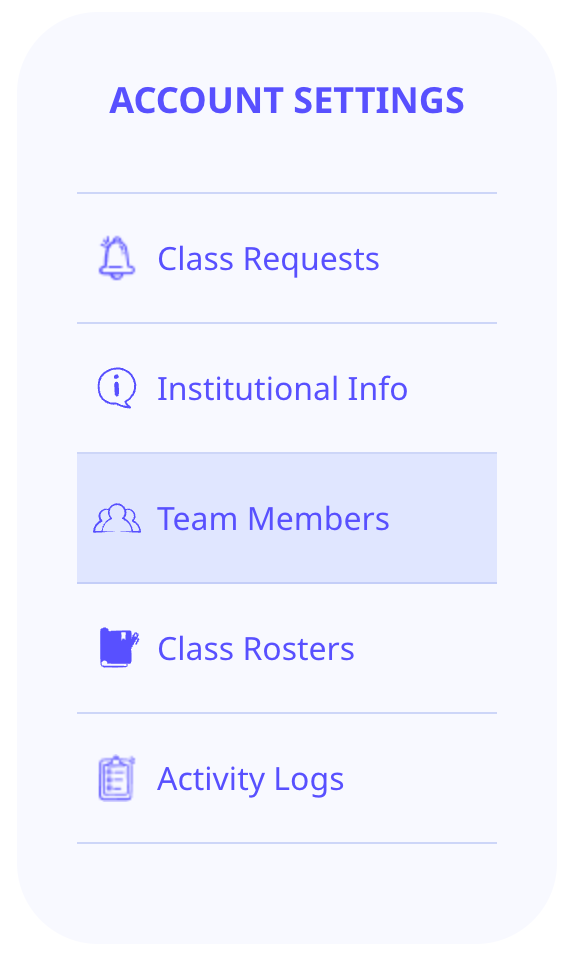
Once added, instructors receive an email letting them know they've been added to your institutional account. They can login with a code to browse and preview classes, book and lead sessions, and view feedback for the classes they teach. Instructors within the same department can see each other so they can coordinate with one another. Team members from the same institution can also see aggregated data from classes taught at your school with feedback from current and past students.Tips & Notes